
Making your own archery arm guard
By Corinne Vasek, club archery coach · Updated
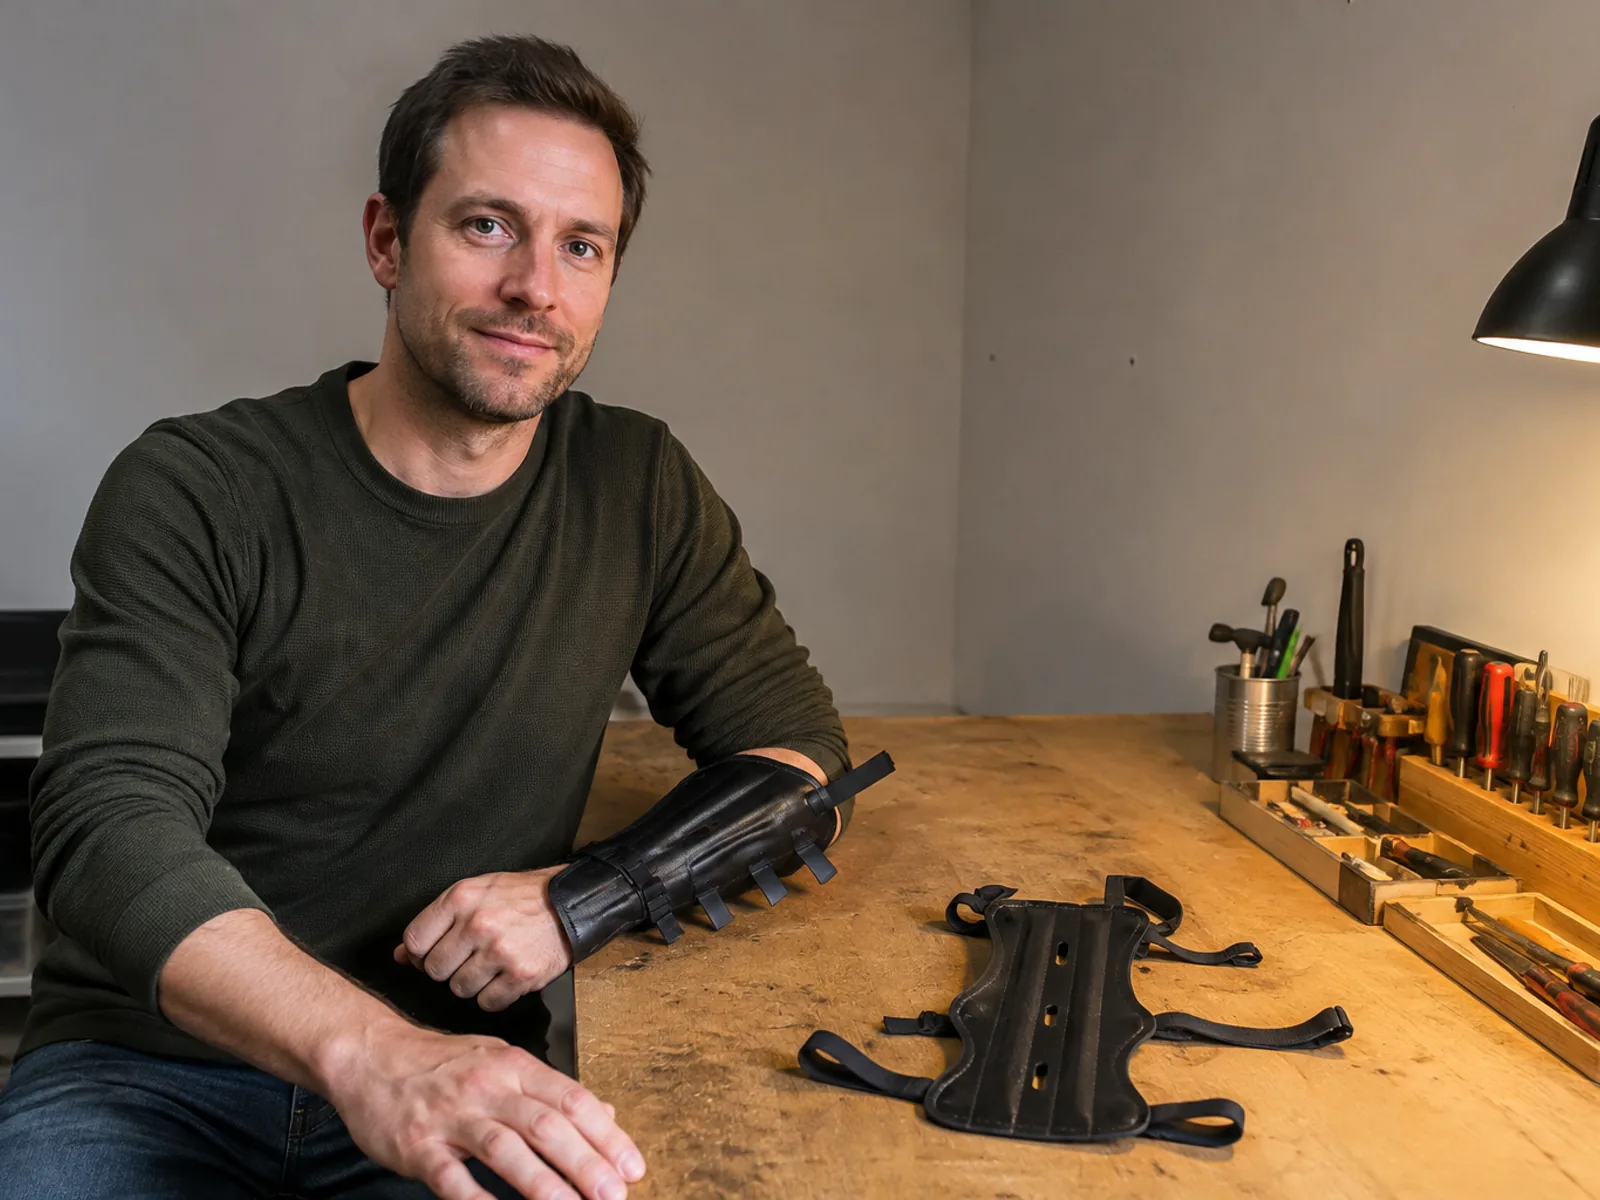
People build their own for all sorts of reasons. A club needs a spare before a taster session. A forearm sits outside what one-size covers. A traditional setup deserves something that looks like it belongs next to a wooden riser. Or the making is the point in itself.
What follows is what those builds are made from, what each material does once it is on an arm, how to get the outline right on your own forearm, and the places where a workshop version runs into difficulty. It is a description of what people do, not a specification.
On this page
What the piece actually has to do.
The materials people build from — and how each behaves.
Tracing the shape on your own forearm.
Fastenings, where builds are decided.
What the piece actually has to do
Before cutting anything it helps to be precise about the job, because a guard is not padding, and building it as padding wastes the work.
A guard works by spreading a string impact across a panel that does not fold. Stiffness does that work, which is why the facing material matters less than most people expect, and why the question of leather against synthetic is really a question about cost and upkeep rather than protection. The panel has a second job that gets discussed far less: it presses clothing flat, so the string meets a smooth surface instead of a gathered cuff. It has a third, which is to stay exactly where it was set for a whole session rather than creeping toward the wrist.
None of that corrects the cause of a string strike. A guard takes the hit while the cause gets worked on, and the causes are set out in what causes string slap. For a build, that means the target is not a medical device. It is a smooth, stiff, well anchored panel that sits still.
The 2023 epidemiological review of archery injuries published in Orthopedic Reviews names forearm braces, alongside reinforced gloves and finger tabs, among the safety equipment it recommends archers use. It says nothing about how such a brace should be built, and neither will this page. Nothing here is a specification, and no guard we have not made is one we can vouch for.
The materials people build from
Ask around a club and the same handful of materials comes up, each with a following and each with a way of disappointing its maker.
Vegetable-tanned leather is the traditional answer and the one most makers reach for first. It cuts with a knife, it takes a curve when damp and holds it as it dries, and it ages in a way people enjoy. The catch is grade: a soft offcut from an upholstery bin drapes rather than spans, and a panel that drapes passes the impact through instead of spreading it. The grades and how to tell them apart apply to a workshop offcut exactly as to a listing.
Rigid plastic sheet, cut from a container lid or bought as stock, is the fast route. It is stiff, it shrugs off rain, and it cuts with a hobby knife. Its problems are edges and cold: a sawn edge sits against skin badly until it is filed and covered, and some plastics go brittle in cold weather.
Thermoplastic sheet, the kind that softens in hot water or under a heat gun, is what makers use when they want a genuine curve rather than a flat plate bent by its straps. Moulded over a forearm-shaped form it wraps closely. It also needs a heat source, a form and gloves, and a panel moulded to a bare arm can turn out tight over a winter sleeve.
Layered canvas or denim, stitched and often stiffened with a panel sandwiched inside, is quiet, comfortable and forgiving to sew, which makes it the friendliest first project. It spreads an impact less than a rigid plate does.
Cardboard belongs on the list only as a template. It is the right way to test a shape and the wrong thing to take to a shooting line.
Tracing the shape on your own forearm
A guard is a flat shape asked to behave on a round, tapering limb, and that is the whole difficulty of the pattern.
Start with paper rather than material. Wrap a sheet around your bow arm, the arm that holds the bow, and mark where the edges meet. Do it with the arm extended rather than relaxed, because a forearm is not the same shape in the two positions. Trim the paper back until it sits without gaping, then transfer the outline to card and wear it for a while.
Two things come out of that exercise. The first is that a rectangle does not work. Because the forearm tapers, a straight-sided panel that closes neatly at the wrist stands away at the elbow, and one that closes at the elbow squeezes the narrow end. That is why manufactured plates carry a waisted, hourglass outline, and a home pattern tends to arrive there too.
The second is coverage. The string runs the length of the inner forearm, and the spots that catch people out are the wrist end and the middle. A panel sized for the middle third of a long forearm can leave the wrist end exposed, which is the point where a guard quietly stops earning its place. Our size guide sets out the two circumference measurements to take and how to read them.
One thing you cannot do is copy ours. No length or width is published for this guard, because the only dimension graphic available describes a different model, with a solid face and clip buckles rather than the vented three-strap plate that ships.
Fastenings, where builds are decided
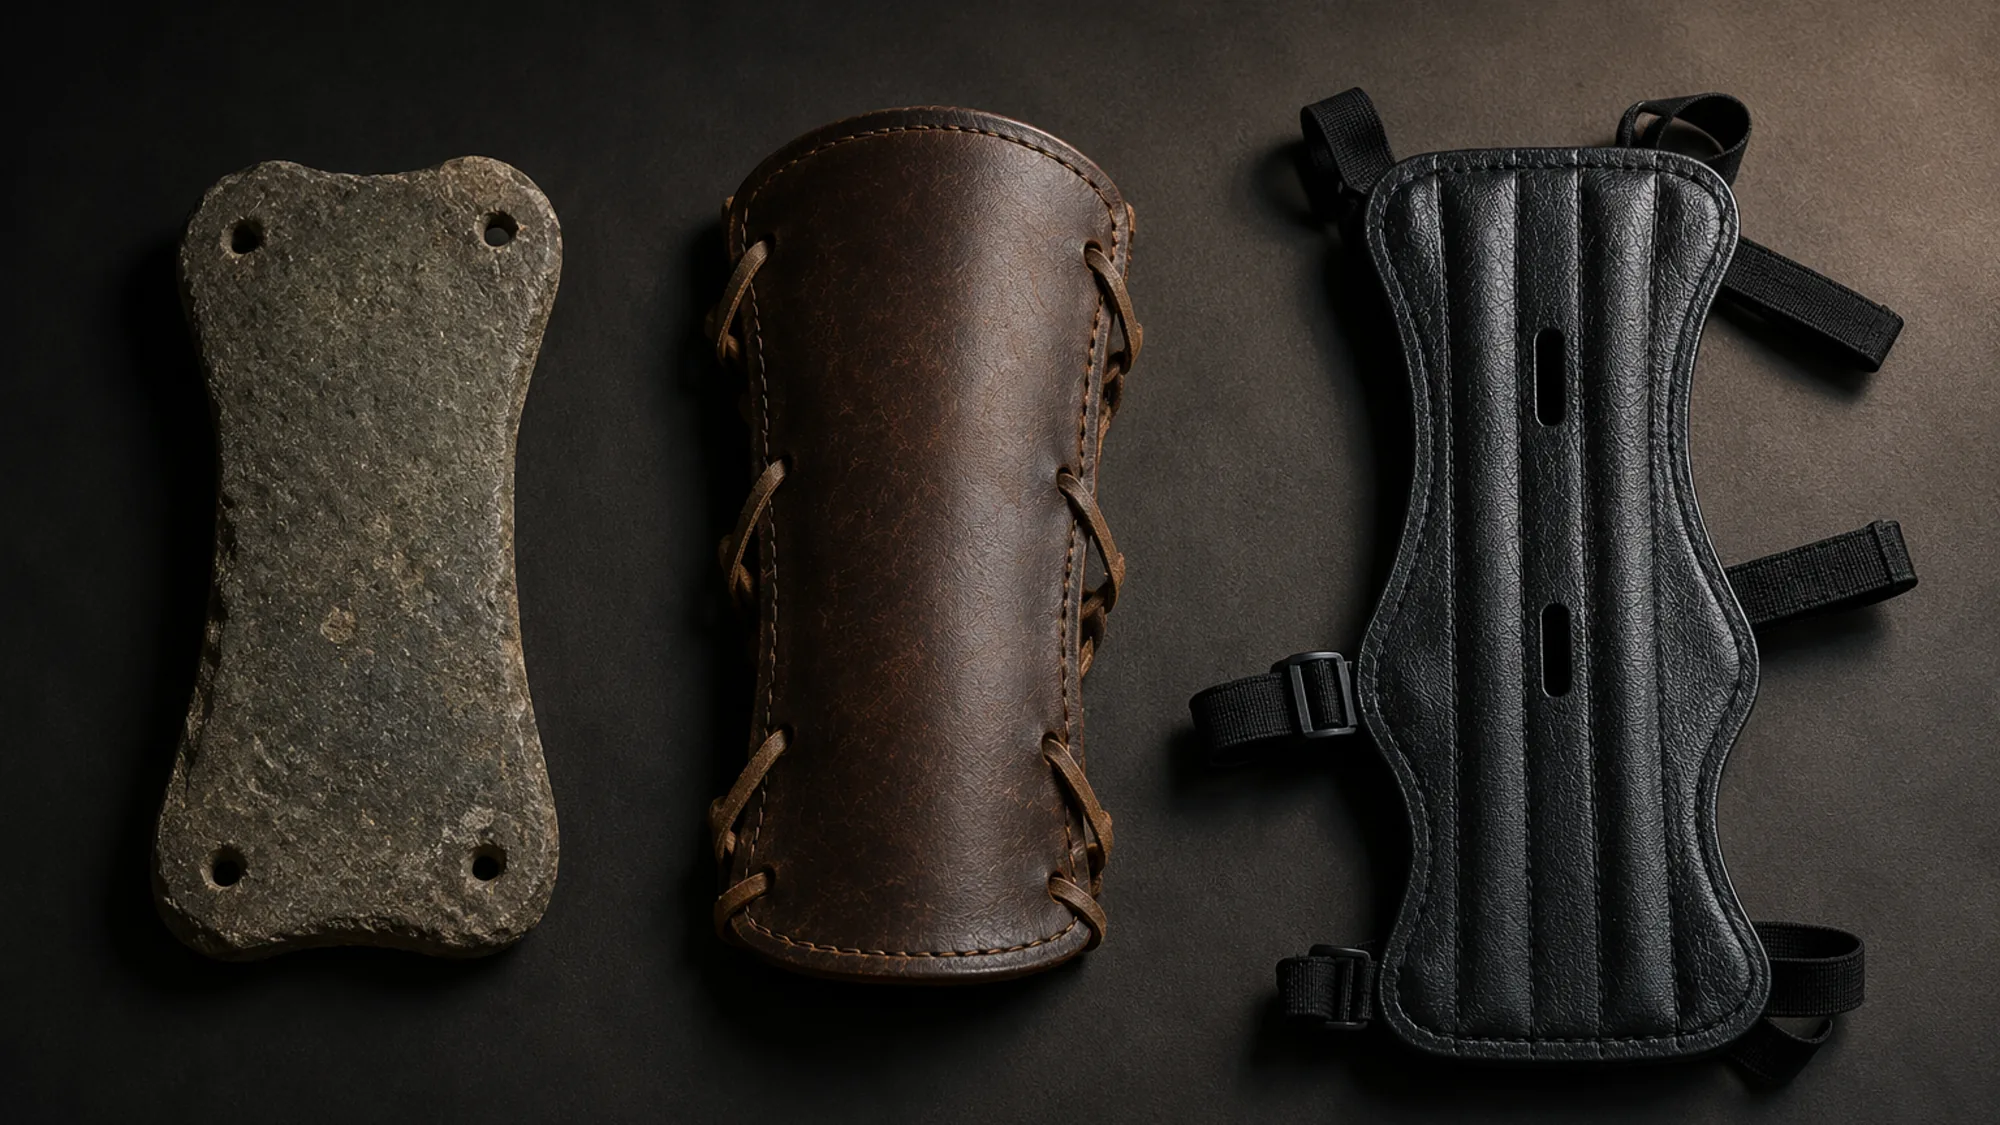
Every arm guard ever made has answered the same question, and the answers line up in a row: a stone bracer drilled at its corners for a thong, a leather bracer laced down both sides, a modern plate on elastic and sliding buckles.
Cord through drilled holes is the oldest and simplest, and plenty of leather builds still use it. It holds, it suits the look, and it leaves knots and tails, which matter for reasons in the next section.
Elastic with a slider is where most workshop builds end up, because elastic holds tension while the forearm changes shape through the draw, where a fixed lace either slackens or digs in.
Hook-and-loop is quick to fit and easy to sew onto fabric. It is also loud to open, and it fills with grass seed and dog hair until it stops gripping. If the guard is going into the woods, that noise matters, and what changes when a guard goes hunting covers it.
Then there is the count, which decides more than the type does. Two fixings let a panel pivot around its own centre when the string strikes it, so it rotates toward the wrist across a session. A third fixing in the middle takes that pivot away. Whatever the number, each one wants to adjust independently, because a tapering arm needs the elbow end set looser than the wrist end. The order to set them in is in how to wear an arm guard, and it applies to a guard you made exactly as it does to one you bought.
The failure that matters most
This is the part to get right, and it has nothing to do with how much impact the panel spreads.
A bowstring on release travels very close to the inner forearm. Anything standing proud in that line can be struck: a buckle mounted on the inside of the arm, a knot, a strap tail left long, a raised seam, a lifted edge that has started to curl. The same is true of clothing, which is why a loose sleeve is a hazard in its own right, not merely a comfort problem.
Two things follow from the string catching on something, and only one of them concerns your arm. A string that meets an obstruction loses energy and is deflected, and the arrow then goes somewhere other than where it was pointed. On a shared line that is everybody's problem, not just a bruise.
So a build wants its fastenings on the outside of the forearm, clear of the string line, tails trimmed or tucked away, edges dressed flat, and nothing standing up from the face. Fit it over the clothing you actually shoot in, and set the fastenings so that clothing is compressed flat rather than gathered into a fold, because a fold is simply a fresh ridge for the string to find.
What this page will not do is tell you that a given thickness, material or arrangement is safe or sufficient. We have not made your guard and we cannot see it, and a piece of kit that can deflect an arrow is not something anyone should certify from a distance. What can be said plainly is which features cause the problem, and every one of them is something standing between the string and a flat surface.
Where a workshop build runs into limits
None of this is an argument that a workshop build is time wasted. These are the places where builds get difficult, and knowing them before you start is the difference between a guard you keep wearing and one that ends up in a drawer.
Stiffness against curve. The panel has to resist folding and it has to wrap a round limb. Flat stock gives you one of those easily and both only with effort. Thermoplastic answers it with heat, damp leather with a form and time, and a flat plastic offcut mostly not at all.
Edges. A cut edge is thin, hard and unfinished, and it rests against skin for an hour at a stretch. Manufactured plates are stitched around the full perimeter with a bound edge, which dresses the edge and stops the layers separating at the corners, where a guard tends to fail first.
Heat. A solid panel against skin in August turns unpleasant quickly, and an archer who has taken the guard off is an archer with a bare forearm. Vented plates exist for that reason, and cutting clean slots into a home-made panel without weakening it is harder than it sounds.
A sample of one. This is the least discussed and the most limiting. A workshop build has no second unit, no run to compare against, and no record of how the design behaved for anybody else. You find out how it holds up by wearing it.
What a made guard brings to the same problem
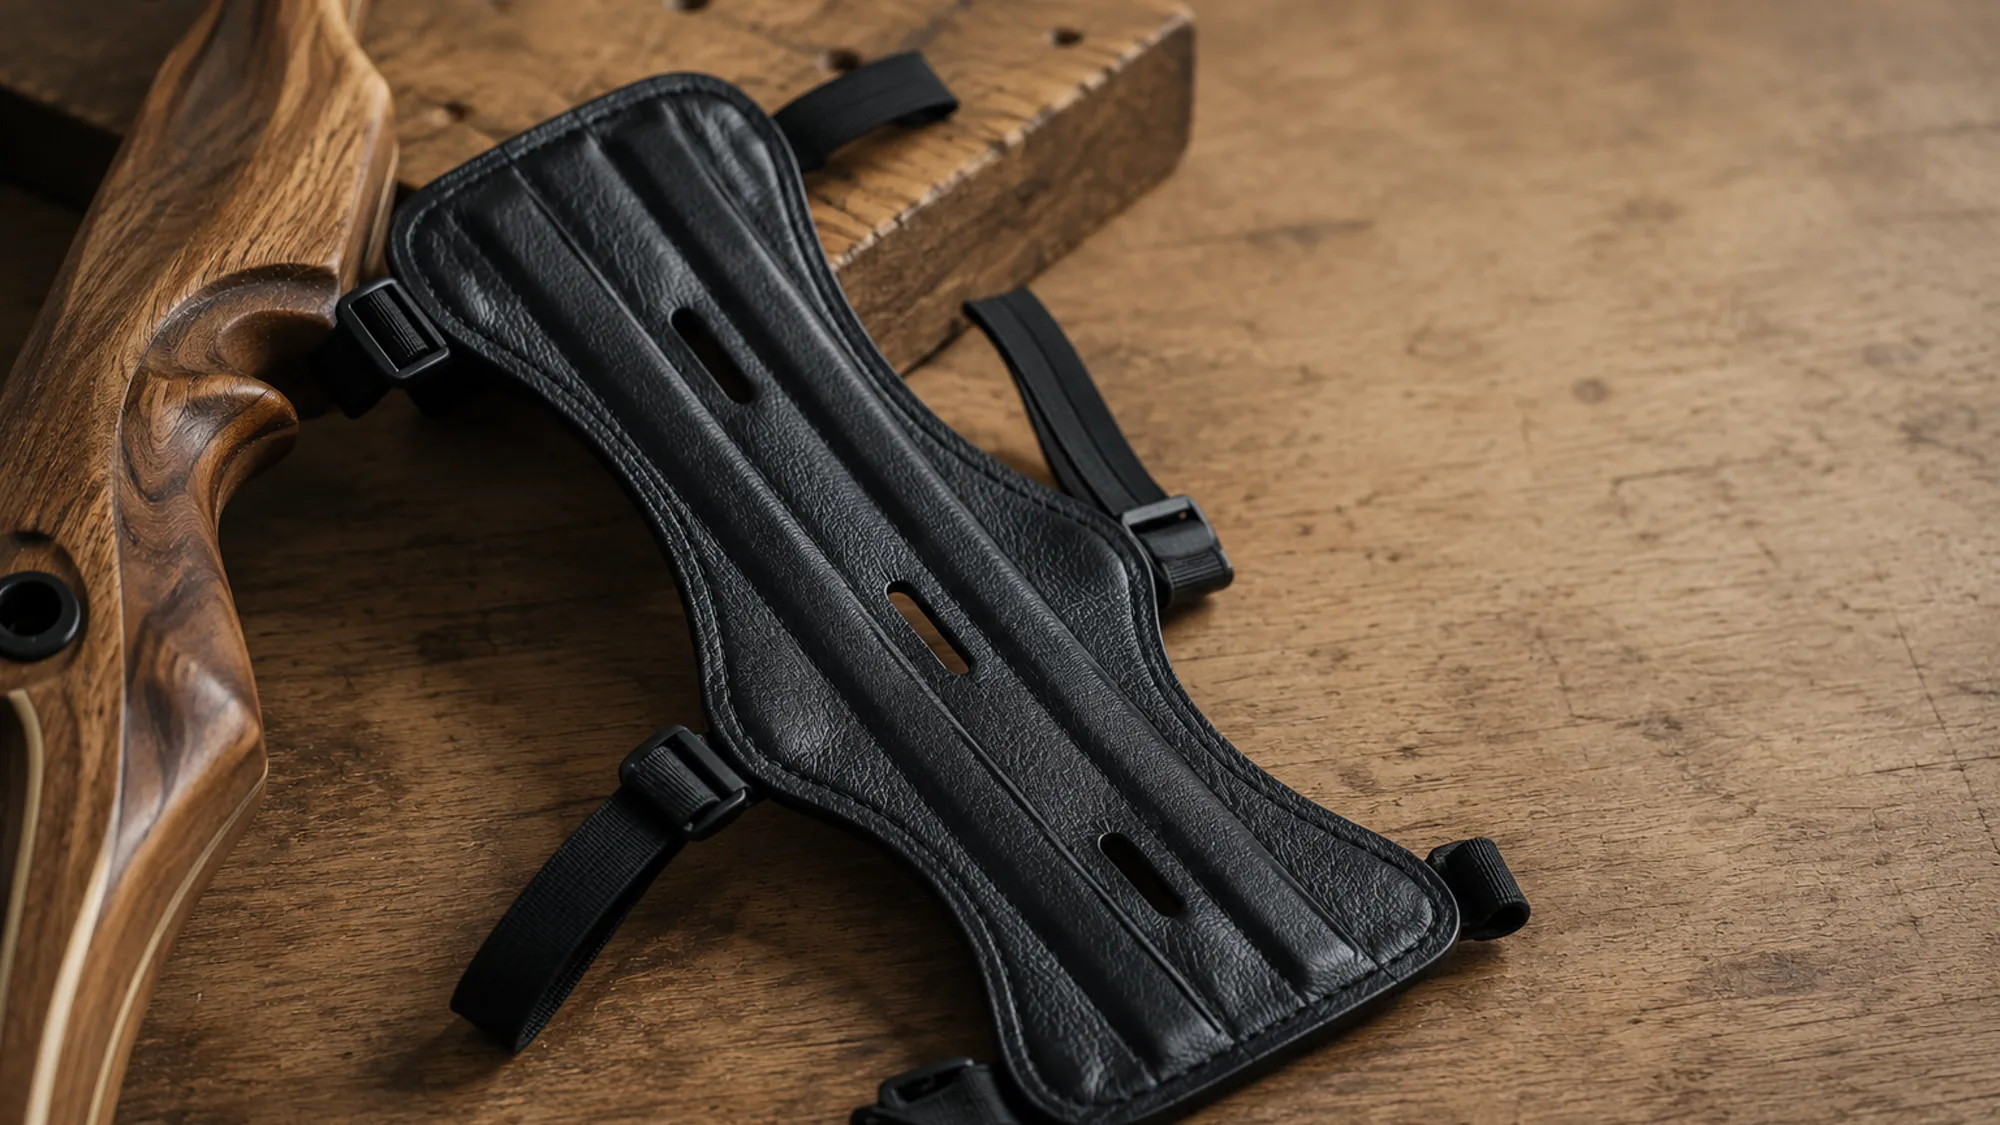
Set a production guard next to a workshop one and the differences sit in exactly the details that are tedious to make by hand.
The plate is waisted so it wraps the arm rather than bridging across it, and it arrives already curved. The face is PU leather over a light backing, stitched around the full perimeter with a bound edge. Three slots run down the face so sweat leaves through the guard instead of pooling under it. Three elastic straps run on their own sliding buckles, so the elbow end can sit looser than the wrist end, and the middle one removes the pivot that turns a two-point guard toward the wrist.
Across the 41 written reviews we read in full before listing it, not one describes the guard failing in use: no torn strap, no broken buckle, no split plate. The criticism that does exist is about the first fitting session and about size, and both are answered in the size guide.
That is what the made version brings to the same problem: the curve, the edge finishing, the ventilation and the strap hardware, all done already and the same on every one.
Rather have one that is already finished?
Three independently adjustable straps on sliding buckles, vented PU leather, bound edge, one size. $19.95 with free shipping and 30 days to send it back.
See the arm guard →Related: what an arm guard is called · guard against sleeve